Logs 'n Dogs
Roof
"It's twisted wreckage, I'm telling you."
Our region is known for heavy snow in the winter, and forest fires in the late summer and autumn. A metal roof seemed just the ticket for shedding snow and discouraging any wayward spark that might happen to land on the house.
In the late summer when we installed our roof, the sun was merciless. We placed our rafters on the ridge pole, and then waited for a cooler day to nail them down and begin sheeting the roof. The commercial lumber we used for our rafters had been kiln dried; however, as our rafters sat exposed to the sun and heat, they still shifted and twisted. It took some work to keep them straight as we installed plywood sheeting later.
Rafters
Initially, we contemplated using small logs as rafters. However, we decided that because logs are so uneven, the time and work needed to prepare log rafters was more than we were willing to tackle. So, we bought dimensional lumber for our rafters.
Our rafters were 2 x 8’s, spaced on two-foot centers. To get them up atop the ridge pole and purlins, we picked one location at the front of the house where all of the rafters would be lifted. At this spot, we threw two ropes over the house, over the top of the ridge pole and purlins. On one side of the house, we connected the end of a 2 x 8 rafter to one of the ropes, and then pulled it up so that the end tied to the rope was resting atop the ridge pole. We repeated this with a rafter from the opposite side of the house, and then used a C-clamp to hold the rafters together while we drilled through them and bolted them together.
The two rafters were now connected like a large pair of scissors. We slid the pair of rafters down the ridge pole until they were in their final position and repeated the process with the next set of rafters.


Rafters were bolted together at the top and then scooted down the ridge pole to their final location.
When all of the rafters had been positioned, we used a long 2 x 4 to see how uniform the roof surface would be. Not surprisingly, since the rafters were resting on top of logs that were larger in some places than others, some of the rafters sat higher than others. So, we recessed some of the rafters by notching into the ridge pole and purlins, so the top surface of the roof would be as uniform as possible once it was sheeted.
Once all rafters were in place, we nailed them to the ridge pole, purlins, and wall logs. We cut “bird blocks” from additional 2x8’s and nailed them between the rafters to help keep the rafters straight, and to meet fire code at the time.

"Bird blocks" - short pieces of 2x8s between the rafters.
Roof Insulation
Log walls have “thermal mass” -- the logs themselves tend to hold and retain heat. In truth, we’ve never lived in a home which was more comfortable and energy efficient than our log house. It stayed wonderfully warm in the winter, and cool in the summer.
However, the thermal mass of a log home is difficult to quantify, and our building department at the time determined insulation requirements using the same methodology that is used for standard frame construction, the R-value method. An “R-value” is a measurement of a material’s resistance to heat passage through it. And the R-value of wood logs, unfortunately, is not great.
Our log walls had an R-value of about ten, which is pretty low. To compensate for this, our building department required an increased R-value in the roof. We used a rigid foam insulating material that had a much higher R-value than typical fiberglass batting. With current energy standards, more roof insulation might be required if we were building today.

Roof Detail
(More insulation might be required if we were building today.)
Sheeting, Vapor Barrier, and Roofing
The remainder of our roof was installed using conventional construction methods. We sheeted our roof with ¾-inch plywood, placed rigid foam insulation between the rafters and installed a vapor barrier. On the outer surface, we placed a layer of tar paper, topped by metal roofing that we had purchased in long sheets and cut as needed to fit our roof.

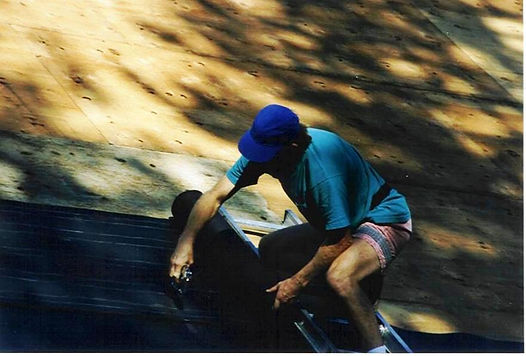
Plywood going on the roof.
Getting the tar paper stapled down.

Metal roof is done!